How to Use Green Screen on CapCut?
How to use green screen on CapCut? If you are wondering about this question, our article is for you! So let’s read the article to receive valuable info!
Are you looking for the best video editing application? If you want one of the best editing apps for video, CapCut will be an excellent way to go.
It is designed with a minimal user interface but offers large filters and effects to customize the videos for any social media platform.
This article will show how to use green screens on CapCut.
So let’s dive into this article to get it clear!
How to Use Green Screen on CapCut?

There are two ways to use the green screen on this app: Chroma Key and Background Remover.
How to select all in CapCut Easily
Chroma Key
Before doing this, it is essential to ensure the green screen overlay is available in the gallery. If you do not have one yet, we recommend visiting Pexels or Pixabay to download one green screen video for free.
It is okay to record one green screen video utilizing your screen recorder.
Step 1: Add the Background Clips to Your CapCut App
Press the “New project” option and pick one video as a background. Also, it is alright to pick multiple videos as background. After that, press the “Add” button.
Step 2: Upload the Green Screen Video as the Overlay
Press on the “Overlay” option at your screen’s bottom and click on the “Add overlay” button. After that, choose one green screen video to upload to your background.
Step 3: Choose the Color You Prefer to Remove
Press your green screen video, then scroll the tools you find at your screen’s bottom until the “Chrome key” item appears. Press this option.
Next, you will see the color picker, allowing you to choose the green color or any color you want to remove.
Step 4: Detach Your Chosen Color
Press the “Intensity” option. After that, you will find a slider which is located at your screen’s bottom. All you need to do is drag this slider until your chosen color disappears.
In some cases, the subject’s lighting and background lighting may differ. You must press the “Shadow” option to increase or decrease the shadows.
Step 5: Check Again And Export your Video
Recheck your work. Once you’re satisfied with your outcome, it is time to press the check mark to apply the effect. After that, export your video.
Background Remover

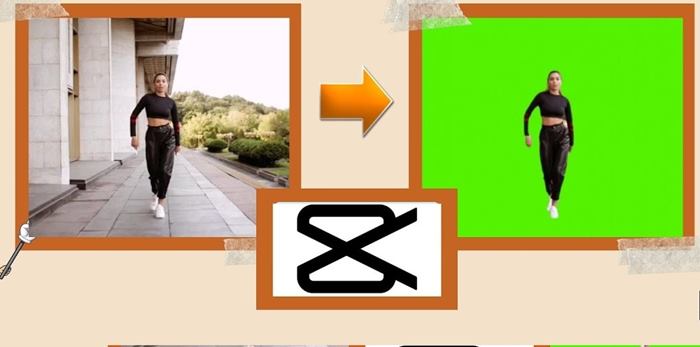
In addition to using the chroma key, you can remove the background from your video utilizing the background remover.
By using this option, your green screen background will automatically disappear when pressing “Remove background.” Here’s how to do it:
Step 1: Upload the Background Clips to Your CapCut App
Press the”New project” option, followed by choosing the video, and tap on the “Add” button.
Step 2: Pick One Green Screen Video You Want as the Overlay
Tap on the “Overlay” option, press the “Add overlay” item, and choose one green screen video you want. After that, tap on the “Add” option.
Step 3: Use a “Remove Background” Effect
Now, from the below-listed options, choose “Remove Background.” Then, The removal process will start to function automatically, and you will have to wait until the process completes.
Step 4: Do Other Edits and Export Your Video
Now, you can preview your video and do further editing if needed.
Tips to Remove Background
Now, we will give you some tips on Slider and Intensity to make customized videos by removing an original background, then adding another clip.
Shadows
It will let you use artificial shadows at your green-screened video’s edges.
As a result, it will enhance the video’s outline and decrease the video inserted thought from the outside.
This effect would make the shadowing effect, making the videos more realistic.
Also, even if your background inserted features different lightning, the effect would fit the defect when sliding it.
Intensity

The Intensity slider will allow you to tweak how deep a green color that is removed is from your video. Besides, this slider will manage and change even the color chosen’s edges in your video to deliver a most satisfying and clear result.
Yet, if you put it at 100%, your video may not look great, and other colors may be affected. Hence, just slide this bar until the effect is implemented wisely.
How to Duplicate a Clip in CapCut
Conclusion
You now know how to use the green screen on CapCut utilizing the two methods discussed. Follow this quick and simple guide to do it for free on the CapCut mobile editing app.
Hopefully, this article was valuable to you. Please share this article if it was helpful to you. Thank you for your interest in the article!